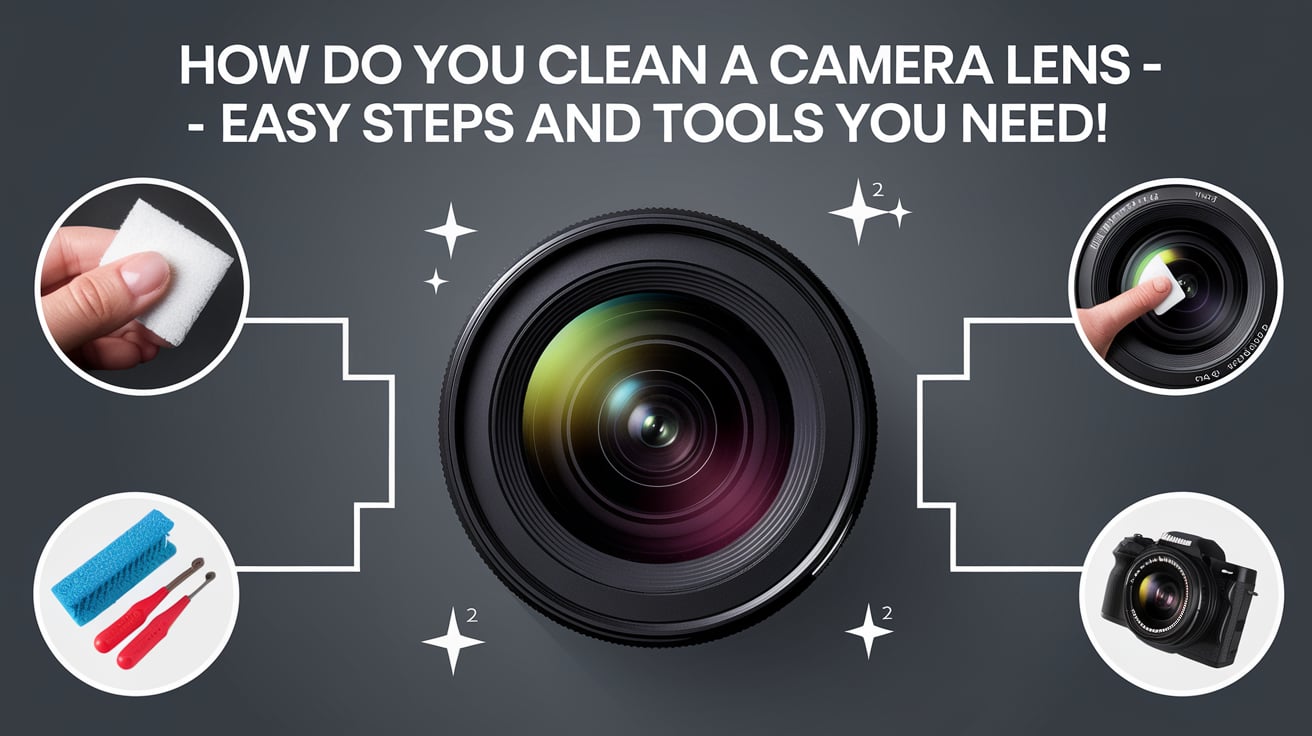
How Do You Clean a Camera Lens – Easy Steps and Tools You Need!
Cleaning your camera lens is important for clear photos. From my experience, using the right tools really helps. I always use a rocket blower to get rid of dust, then finish with a microfiber cloth to remove smudges. It’s quick, easy, and keeps my lens in great shape for every shot.
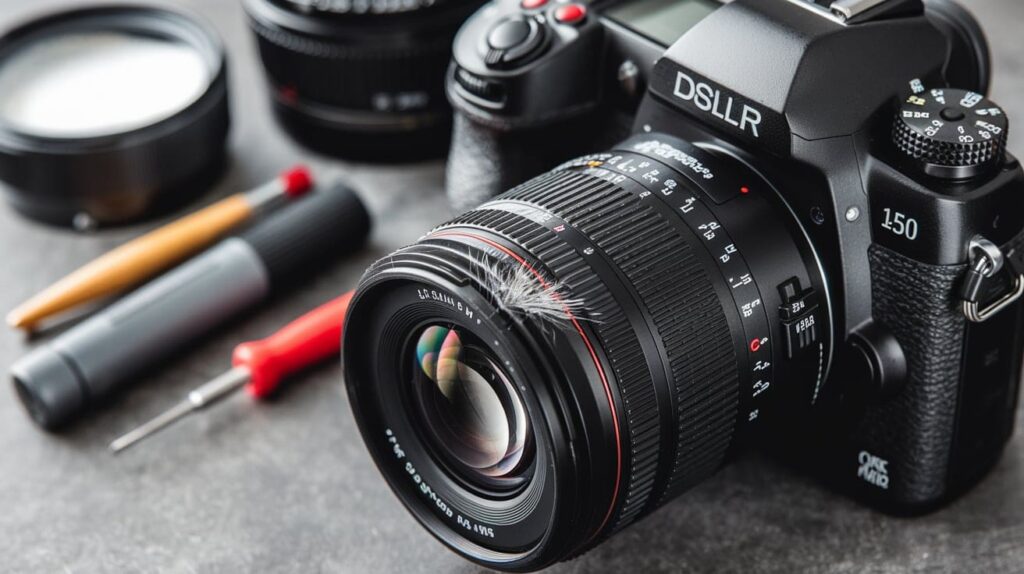
Cleaning your camera lens properly is key to maintaining great image quality. In this guide, we’ll share simple steps and essential tools you can use to keep your lens spotless. Follow these tips to ensure your lens stays in top shape for stunning photos.
Stay tuned with us as we dive deeper into the topic of “how do you clean a camera lens.” We’ll share more expert tips and tricks to keep your camera gear in excellent condition!
Essential Tools for Cleaning a Camera Lens – Shop Lens Care!
To clean a camera lens properly, you need the right tools. Using inappropriate materials can scratch or damage the lens surface. Below are the essential tools every photographer should have in their cleaning kit.
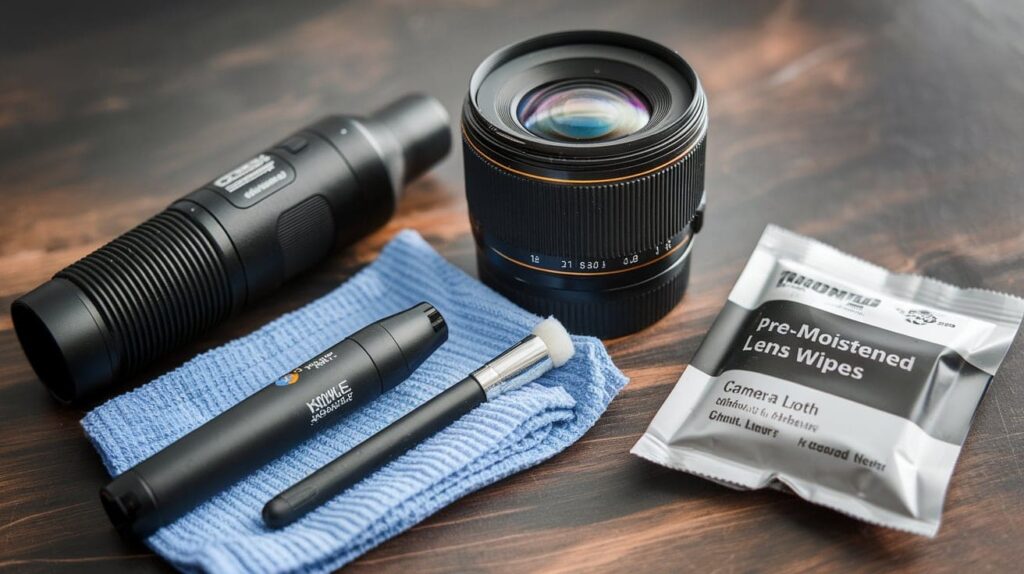
Rocket Blower
A rocket blower is one of the first tools you should use when cleaning your lens. This tool allows you to blow away loose dust or debris from the lens surface without touching it. Using a blower instead of a cloth prevents the risk of scratching the lens.
- Why use a rocket blower? Rocket blowers work by emitting a strong burst of air, which helps dislodge dust particles from the lens and camera body.
- How to use it: Hold the blower close to the lens, making sure to keep the nozzle slightly away from the surface to avoid direct contact. Squeeze the bulb gently to release air, and move the nozzle in small circular motions to clear dust.
Lens Pen
A lens pen is an effective tool for cleaning a camera lens after using the blower. One side of the pen has a soft brush to remove fine dust, and the other side has a cleaning tip that works like a pad for smudges or greasy marks.
- Why it’s essential: Lens pens are compact and easy to use, making them ideal for photographers on the go.
- How to use it: Gently use the brush side to remove any remaining dust. Then, use the cleaning tip to wipe away smudges. Be sure to avoid using excessive pressure.
Microfiber Cloth
Microfiber cloths are soft and lint-free, making them perfect for polishing the lens without causing damage. Microfiber is safe for delicate surfaces like camera lenses, and it effectively removes fingerprints and other residue.
- Why microfiber works: Microfiber absorbs oil and dirt without scratching the lens, making it an essential part of your cleaning routine.
- How to use it: After blowing off dust, gently wipe the lens in circular motions with a clean microfiber cloth. Avoid pressing hard, as this can cause streaks.
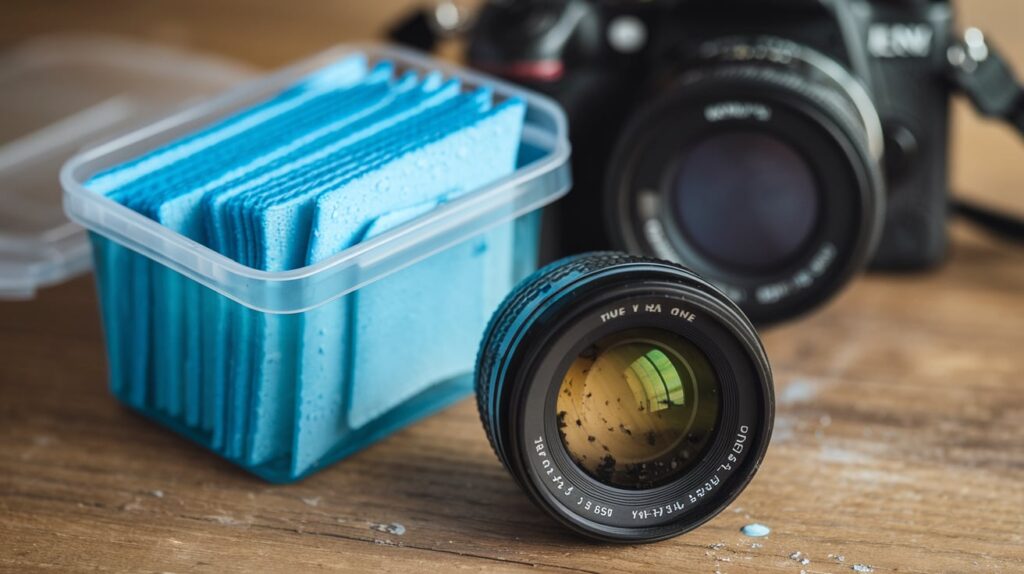
Pre-Moistened Lens Wipes
Pre-moistened lens wipes are convenient for photographers who need quick cleaning while on the move. They are often infused with a cleaning solution designed specifically for lenses.
- Pros and cons: Lens wipes are portable and ready to use, but they can leave behind residues if overused or improperly applied.
- How to use them: Gently wipe the lens with a single wipe. Avoid applying excessive pressure, and use only when necessary.
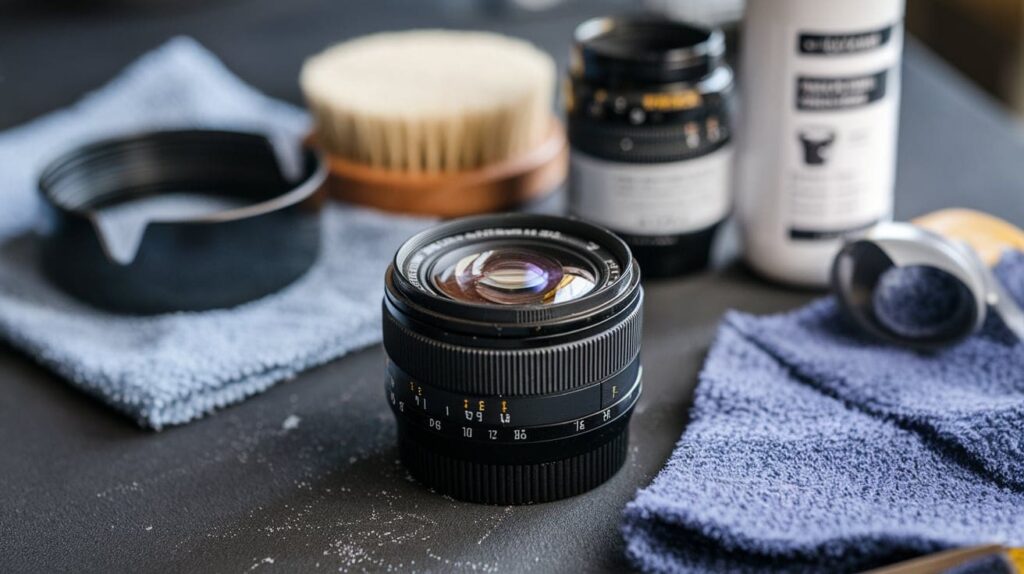
Brushes (Paintbrush and Makeup Brush)
Soft brushes like paintbrushes or makeup brushes are excellent for removing fine dust from your lens. They are especially useful for cleaning the edges of the lens or around the aperture.
- Why use brushes? Brushes allow you to gently sweep away dust without making direct contact with the lens, reducing the risk of scratches.
- How to use them: Lightly brush off any remaining dust or particles, making sure the bristles are clean before use.
Lens Cleaning Solutions
Lens cleaning solutions are designed specifically for optical glass, ensuring that you don’t damage the coatings on your lens. Always use cleaning solutions made for lenses and avoid generic glass cleaners.
- How to use it: Spray a small amount of solution onto a microfiber cloth (never directly onto the lens). Wipe the lens in a circular motion to clean any stubborn spots.
Read Also: GoPro VS DSLR Cost Comparison – Make an Informed Decision!
Step-by-Step Guide – How to Clean Your Camera Lens?
Now that you’re familiar with the essential tools, let’s dive into a step-by-step guide on how do you clean a camera lens safely and effectively.
Step 1: Prepare Your Work Area
Before cleaning, ensure your hands are clean and dry to avoid transferring oils or dirt to the lens. Set up your workspace in a clean, dust-free area, ideally near natural light, so you can see any smudges or particles clearly. Make sure your camera is turned off and the lens is detached from the camera body.
Step 2: Use the Rocket Blower
Begin with the rocket blower to remove any loose dust or debris from the lens surface. Hold the blower about 2-3 inches away from the lens and gently squeeze the bulb to release air. Move the nozzle around the lens to ensure that all dust is blown off without making contact with the lens.
Step 3: Brush Off Remaining Dust with a Lens Pen or Brush
After using the blower, you may still have some fine dust particles. Use the brush side of a lens pen or a soft brush to gently remove these particles. Avoid pressing down too hard to prevent scratches.
Step 4: Clean Smudges or Fingerprints with a Microfiber Cloth
Next, take a clean microfiber cloth to remove any remaining fingerprints, smudges, or oils. Use a gentle, circular motion when wiping the lens, and avoid applying too much pressure. The cloth should glide smoothly over the surface to prevent streaking.
Step 5: Use Lens Wipes for Stubborn Marks
If any stubborn smudges remain after using the cloth, consider using a lens wipe. Apply a small amount of pressure when using the wipe, but avoid pressing too hard. Wipe the lens gently in a circular motion until the smudge is gone.
Step 6: Clean the Lens Cap and Rear Element
The lens cap and rear element are just as important to clean as the front lens. Use the blower to clear dust from the lens cap, then wipe it with a microfiber cloth. For the rear element, use the blower first, and if necessary, gently wipe it with a microfiber cloth.
Common Mistakes to Avoid When Cleaning Your Camera Lens – Avoid Mistakes!
Using the wrong materials can damage your camera lens. Paper towels, tissues, or clothing can leave lint or even scratch the surface. Cleaning too often can also wear down the lens coating. Only clean when needed, and always use a soft microfiber cloth or a lens brush for gentle care.
Pressing too hard while cleaning can cause scratches or damage the lens coating. Always clean with light, circular motions. Also, be careful with cleaning solutions—only use ones made for camera lenses. Never spray liquid directly on the lens; instead, put a small amount on a microfiber cloth first to avoid moisture getting inside.
Read Also: Why Canon Camera Expensive In America– A Detailed Breakdown!
How to Clean a Lens Safely in Harsh Environments? – Protect Your Gear!
Working in Dusty Conditions
When shooting in dusty environments, such as deserts or windy areas, be sure to protect your lens before cleaning. Use a lens hood and keep your camera in a bag when not in use. Always clean your lens as soon as possible after exposure to dust.
Cleaning Lenses in Humid or Wet Environments
If you’re shooting in the rain or near water, use a rain cover for your camera. Afterward, dry the lens gently with a microfiber cloth. Be careful not to let water sit on the lens for long periods.
Cleaning Lenses After Exposure to Chemicals or Liquids
If your lens has been exposed to chemicals, saltwater, or other liquids, clean it as soon as possible. Use a microfiber cloth and a gentle cleaning solution to remove any residue. In extreme cases, it may be necessary to seek professional cleaning.
Read Also: Why Is My Nikon Camera Taking Black Pictures? – Troubleshooting and Solutions!
How do you fix scratches on a DSLR camera lens? – Repair Your Lens!
Fixing scratches on a DSLR camera lens is tricky because lenses have special coatings that can be damaged further if handled incorrectly. Here are some possible solutions:
1. Assess the Damage
- Minor scratches might not affect image quality, while deep scratches can cause glare and blur.
- Test the lens by taking photos in different lighting conditions to see if the scratch impacts image quality.
2. Use a Lens Cleaning Solution
- Sometimes, what appears to be a scratch is just a smudge.
- Clean the lens with a microfiber cloth and a proper lens cleaning solution to remove any dirt or debris.
3. Try a Lens Scratch Filler
- Some optical-grade scratch removers (like PolyWatch or Novus Plastic Polish) may help with very light scratches.
- Apply a tiny amount with a soft cloth and gently rub in a circular motion.
4. Use a Lens Protector or UV Filter
- If the scratch is minor and doesn’t affect image quality much, using a UV filter can help mask it.
- This also prevents further damage and protects the lens from future scratches.
5. Professional Repair or Replacement
- Deep scratches cannot be fully repaired at home.
- Take the lens to a professional repair service for polishing or element replacement.
- If the damage is severe, replacing the lens might be more cost-effective.
Prevention Tips
- Always use a lens cap when not in use.
- Store the lens in a clean, dry place.
- Avoid using rough materials to clean the lens.
FAQs:
Can I clean my lens with a regular cloth or tissue?
Using a regular cloth or tissue is not recommended, as they can leave lint or even cause scratches. Instead, always use a microfiber cloth, which is designed to safely clean delicate glass surfaces without damaging them.
What’s the best way to clean fingerprints off my lens?
To remove fingerprints, use a microfiber cloth with a few drops of lens cleaning solution. Gently wipe the lens in circular motions to lift the smudges without applying too much pressure, ensuring the surface remains clean and undamaged.
Are UV filters worth using to protect my lens?
Yes, UV filters provide an extra layer of protection against scratches, dust, and dirt. They do not affect image quality and are much easier and cheaper to replace than a damaged lens, making them a practical investment for lens care.
How do I remove stubborn dirt or sticky substances from my lens?
For stubborn dirt or sticky substances, apply a small amount of lens cleaning solution to a microfiber cloth and gently wipe the affected area. If needed, use a lens cleaning pen or blower to remove any remaining debris without scratching the lens surface.
How often should a DSLR lens be cleaned or oiled?
You should clean your DSLR lens when you see dust, smudges, or dirt affecting your photos. A gentle wipe with a microfiber cloth or blower every few weeks is enough for most users. DSLR lenses don’t need oiling because their parts are made to work smoothly without it.
How do you clean your DSLR camera sensor and lenses without damaging them?
To clean your DSLR camera sensor, use a blower to remove dust without touching the sensor. If deeper cleaning is needed, use a sensor cleaning swab with sensor-safe liquid. For lenses, use a soft brush or blower to remove dust, then wipe gently with a microfiber cloth and lens cleaning solution. Always use light pressure to avoid scratches or damage.
Conclusion:
Cleaning your DSLR camera lens and sensor is essential for maintaining clear and sharp images. Always use the right tools, such as microfiber cloths, blowers, and lens-safe cleaning solutions, to avoid damaging your equipment. Regularly check your lens and sensor for dust and smudges, but remember not to over-clean, as it can cause wear over time.
By following these simple steps, you can keep your camera in top condition and ensure high-quality photos for years to come.
Read Also: