
Learning how to change shutter speed on Sony A7III gives you full creative control over your images. This full‑length guide reveals the why and how behind shutter speed, covering everything from freezing motion to long‑exposure artistry, with practical examples, gear tips, and handsome photo results.
What Is Shutter Speed?
Shutter speed determines how long your camera’s sensor is exposed to light. It’s expressed in seconds or fractions (e.g., 1/1000 s, 1 s). A fast shutter speed (like 1/1000 s) sharply freezes motion, while a slow shutter (like 1 s) gathers more light but can create blur or light trails.
Shutter speed works as part of the exposure triangle, alongside aperture and ISO. Adjusting one value affects the others, you may need to increase ISO or open up your aperture if choosing a faster shutter speed.
Clear understanding of shutter speed empowers you to control motion (freeze or blur), exposure, and mood in your images.
Why Change Shutter Speed on Sony A7III?
Choosing the right shutter speed unlocks multiple creative and technical benefits:
- Freeze action: Sports, wildlife, events, 1/1000 s or faster stops motion with crisp detail.
- Add motion blur: Techniques like panning or flowing water look dynamic with shutter speeds around 1/30 s to 1/125 s.
- Long exposure shots: Light trails, neon city scenes, or serene waterfalls use shutters from 5–30 s or beyond.
- Night & low‑light photography: A longer exposure lets you gather complex scenes in darker environments.
- Manual control: Full creative authority in S (Shutter Priority) or M (Manual) mode lets you override automatic camera decisions.
Whether you’re a hobbyist or aspiring pro, mastering shutter speed gives you the power to shape your imagery.
Understanding Sony A7III Shooting Modes
Knowing which shooting mode lets you control shutter speed is key:
Shutter‑Priority Mode (S)
In S mode, you set the shutter speed manually. The camera adjusts aperture (and ISO if Auto ISO is activated) to maintain correct exposure. Ideal for action or motion control situations
Manual Mode (M)
In Manual mode, you control both shutter speed and aperture, and optionally ISO if Auto ISO is enabled. Perfect for creative flexibility and consistency.
Other Modes (A, P, Auto)
- Aperture Priority (A): You control aperture, camera chooses shutter.
- Program (P) and Auto modes: The camera handles exposure automatically, no direct shutter speed control.
To manipulate shutter speed, use S or M modes exclusively.
Step‑by‑Step: How to Change Shutter Speed on Sony A7III
Follow these detailed steps to control shutter speed effectively:
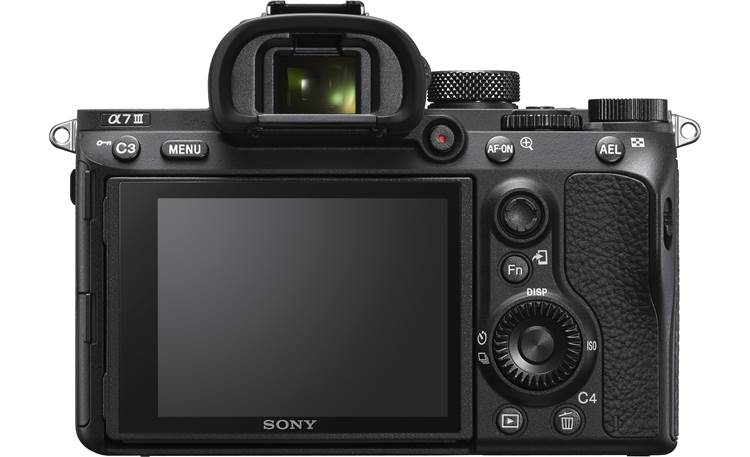
- Set the Mode Dial to S or M
- Rotate the top dial to S (Shutter Priority) or M (Manual) mode.
- Rotate the top dial to S (Shutter Priority) or M (Manual) mode.
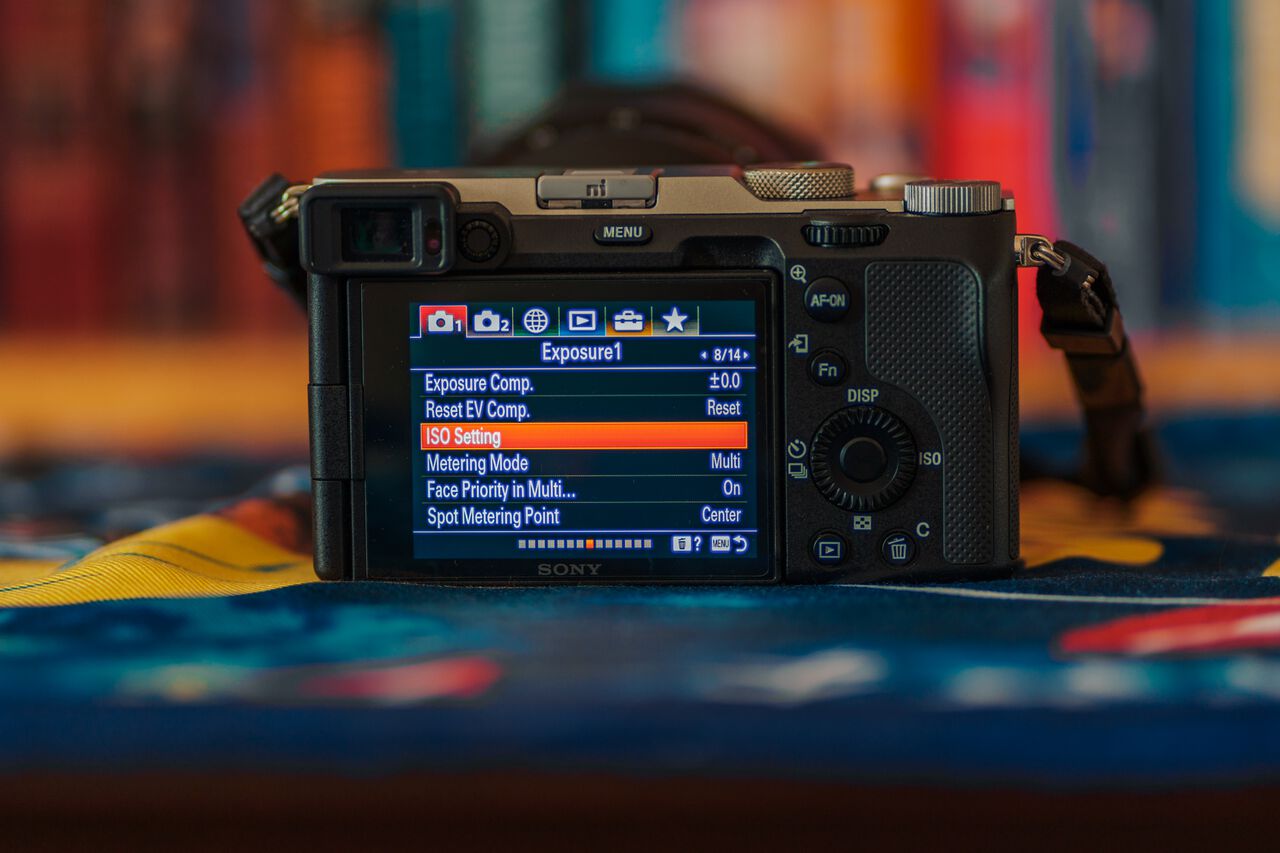
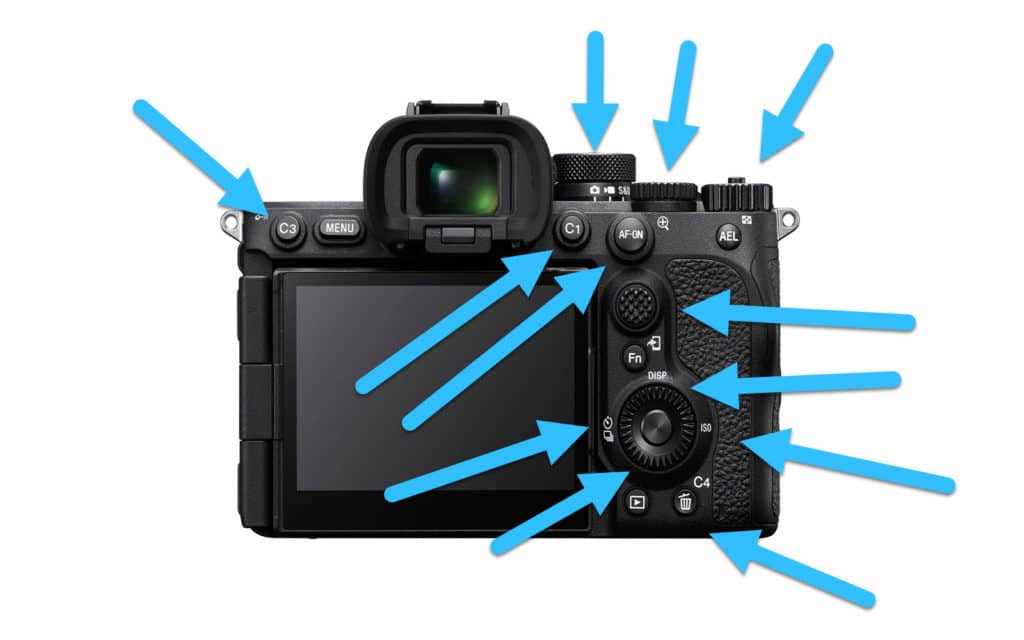
- Locate the Control Dials
- Use the rear control wheel to adjust shutter speed. In Manual mode, the front dial controls aperture by default; these assignments can be customized via menu settings.
- Use the rear control wheel to adjust shutter speed. In Manual mode, the front dial controls aperture by default; these assignments can be customized via menu settings.
- Rotate Dial to Adjust Shutter
- Turn rear dial clockwise or counterclockwise. Shutter speed values appear in the viewfinder or rear screen. Each tick changes exposure by 1/3‑stop by default.
- Turn rear dial clockwise or counterclockwise. Shutter speed values appear in the viewfinder or rear screen. Each tick changes exposure by 1/3‑stop by default.
- Monitor Exposure Feedback
- In S mode, if the camera can’t achieve proper exposure, the aperture value will blink..
- Keep “Setting Effect ON” enabled in the menu so live-view previews actual exposure before shooting.
- Take the Shot
- Frame and focus your shot, then press shutter. The sensor will open and close based on the selected exposure time.
This flexible workflow gives you real-time control over how movement and light are captured.
Recommended Shutter Speed Settings for Common Situations
Here’s a comprehensive reference table:
| Scenario | Recommended Shutter Speed | Why This Speed |
| Sports / Action | 1/1000 s or faster | Freezes fast moving subjects |
| Street / Everyday Shots | 1/250 s – 1/500 s | Sharp handheld results |
| Portraits | 1/125 s | Minimizes blur from subject movement |
| Light trails / Night | 5 s – 30 s | Smooth streaks, city glow captures |
| Long Exposure / Landscape | 1 s – 4 s | Softens water, captures smooth lines |
| Astrophotography | 15 s – 25 s | Capture stars, Milky Way detail |
Always use a tripod when shooting slower than ~1/60 s to avoid camera shake.
What Is Bulb Mode & How to Use It on the A7III
Bulb mode on the Sony A7III lets you control how long the shutter stays open. This is helpful when you want to take long exposure photos, such as night skies, fireworks, or light trails. In regular shutter settings, you can only go up to 30 seconds. But in Bulb mode, the shutter stays open as long as you hold down the shutter button. This gives you more creative control when working with very low light or when you want to capture motion over time.
To use Bulb mode on the A7III, first turn the mode dial to Manual (M). Then scroll the shutter speed all the way past 30 seconds until you see “BULB” on the screen. Use a tripod to keep your camera steady. It’s also a good idea to use a remote or self-timer so you don’t shake the camera. Press and hold the shutter button to begin the exposure, and release it when you want to stop. This simple setting can help you take some truly amazing long-exposure
Tips for Shooting at Slow Shutter Speeds
- Use a sturdy tripod — prevents shake
A strong, stable tripod is a must for slow shutter photography. It holds your camera still, preventing any motion blur caused by shaky hands, especially during exposures longer than 1 second. - Engage the 2-second self-timer if no remote is available
If you don’t have a remote or intervalometer, use your camera’s built-in 2-second timer. This small delay helps reduce vibrations that occur when you press the shutter button by hand. - Use steady filters like ND filters to extend exposure time during daylight
Neutral Density (ND) filters limit the light entering the lens, making it possible to shoot at slow shutter speeds even in daylight. This is perfect for capturing smooth water, light trails, and cloud motion. - Enable exposure preview live-view so you see actual brightness before capturing
The Sony A7III’s live view shows you how your photo will turn out before you take it. This helps you judge the correct brightness and adjust shutter speed, ISO, and aperture easily without trial and error. - Turn off SteadyShot in extreme long exposures; in-body stabilization can introduce tiny movement on tripod use
For very long exposures on a tripod, turn off the camera’s built-in SteadyShot. Although it’s helpful for handheld shots, it may cause tiny shifts when mounted, potentially blurring your image. - Use remote or intervalometer to lock shutter duration precisely for repeated bulb exposures
A wired or wireless remote helps trigger the shutter without touching the camera. For Bulb mode shots, an intervalometer gives you precise control over exposure times and allows repeated shots for time-lapse or star trails. - These practices help you avoid common pitfalls of long exposure photography
Following these tips ensures sharp, well-exposed images. It also reduces errors like camera shake, overexposure, or inconsistent results when shooting long exposures or in Bulb mode.
How Shutter Speed Affects Video Recording on the A7III
In video mode, shutter speed determines motion blur and natural look:
- Apply the 180° rule: shutter speed ≈ equals double your frame rate.
- 24 fps → 1/50 s
- 30 fps → 1/60 s
- 60 fps → 1/125 s
Setting the shutter too fast creates a jittery, staccato look; too slow leads to excessive motion blur. Matching these ratios ensures cinematic, fluid video motion. Some shutter control may be limited in video mode, access exposure settings via the Movie menu, and choose Manual Exposure.
Common Mistakes When Changing Shutter Speed & How to Fix Them
- “Too dark images” – Use a slower shutter speed or raise the ISO
If your photos are coming out too dark, your shutter might be closing too fast, not letting in enough light. Try slowing it down (e.g., from 1/500 to 1/60) or increasing your ISO to make the sensor more sensitive to light. - “Blurry images” – Increase shutter speed or use a tripod
Blurry shots usually happen when the shutter is too slow to freeze motion. Use a faster shutter speed (like 1/250 or higher for moving subjects). Also, support your camera with a tripod or enable SteadyShot to avoid shake. - “Cannot change shutter speed” – You’re likely in Auto, Program, or Scene mode
If you can’t manually adjust the shutter speed, the camera may be in Auto, P, or a preset Scene mode. Switch the mode dial to S (Shutter Priority) or M (Manual Mode) for full control over shutter settings. - “Camera not letting me go beyond 30s” – Bulb mode may be disabled
The Sony A7III limits shutter speed to 30 seconds unless you enable Bulb mode. If Bulb isn’t available, check your Drive Mode or Picture Effects settings. Some modes restrict access to Bulb. - “Micro-shake when pressing shutter” – Use a remote or self-timer
Pressing the shutter by hand can slightly shake the camera, especially with long exposures. Avoid this by using a remote shutter release or setting a 2- or 5-second timer. This allows the camera to settle before the exposure begins. - Extra Tip from Reddit Users – Shutter buttons don’t always lock without a proper remote
Some users mention their long exposure shots failed because their shutter button wouldn’t stay pressed in Bulb mode. Using a dedicated shutter release with a lock feature solves this. It keeps the shutter open without needing to hold it down the whole time.
Practice Exercises to Master Shutter Speed
Light Trails: Set your camera on a tripod near a busy road at night. Use 10–30 s shutter speed. The lights from passing cars will trace bright streaks—practice exposure length for intensity balance.
Panning Motion: Follow a moving subject (e.g., car, cyclist) at about 1/30 s shutter speed. Move along with the subject so they remain sharp while the background blurs dramatically.
Waterfalls or Streams: Use 1–4 s shutter speed on tripod to soften moving water. Experiment with aperture and ISO to maintain exposure.
Astrophotography: With tripod and wide lens (e.g. 20mm f/1.8), use 15–25 s shutter speed and high ISO (1600–3200). Try light-pollution maps to find dark skies. Advanced: stack multiple exposures for cleaner results .
Conclusion
Mastering how to change shutter speed on Sony A7III gives you full creative expression, from freezing fast action to capturing dreamy long exposures. With practice and proper setup, you’ll consistently produce sharper, more compelling images.
Start experimenting in familiar settings. Mix fast and slow shutter speeds, contrast styles, and subject matter. Save your favorite combinations using custom modes. Over time, you’ll naturally rely less on theory and shoot more confidently from intuition.
For deeper manual control training, don’t miss our ISO Settings Guide and Sony A7III Aperture Guide. Bookmark this page and revisit as your go-to resource for exposure mastery!
FAQs: How to Change Shutter Speed on Sony A7III
1. How do I manually change shutter speed on Sony A7III?
Set the mode dial to S (for shutter‑priority) or M (manual), then use the rear dial to adjust shutter speed.
2. What shutter speed is best for night photography on the A7III?
Use shutter speeds from 5s to 30s, paired with ISO and tripod support. For exposures beyond 30s, switch to Bulb mode.
3. How do I activate Bulb mode on Sony A7III?
Switch to Manual mode, turn the rear dial past the 30″ setting until “BULB” appears, then hold the shutter button to begin exposure.
4. Why can’t I change shutter speed on my Sony A7III?
You might be in Auto, Program, or Aperture Priority mode, which restricts shutter control. Switch to S or M mode to regain manual shutter access.
5. How does shutter speed influence video recording on the A7III?
Video shutter speed should be roughly two times your frame rate (e.g. 1/50 s for 24 fps) to ensure smooth motion blur and cinematic movement.